Modified Ender 3 with Klipper - 3x Speed Improvement Case Study
Complete transformation of an Ender 3 3D printer achieving 3x faster print speeds with improved quality through strategic hardware upgrades and Klipper firmware optimization.
Project Overview
The Challenge: The stock Ender 3 was limited to 50mm/s print speeds with noticeable quality degradation beyond that threshold. A typical functional part required 12+ hours of print time, and the printer suffered from Z-axis inconsistencies and poor retraction control with the Bowden extruder setup.
The Goal: Achieve 3x speed improvement while maintaining or improving dimensional accuracy and surface quality. Additionally, reduce operational noise and enable advanced features like real-time bed leveling and automatic flow control.
The Outcome: Successfully achieved 150mm/s reliable print speeds with improved ±0.05mm dimensional accuracy. Reduced typical print times from 12 hours to 4 hours while cutting operational noise by 35%. The printer now handles flexible filaments reliably and features real-time mesh bed leveling.
Performance Summary
| Metric | Before | After | Improvement |
|---|---|---|---|
| Max Reliable Speed | 50mm/s | 150mm/s | 3x faster |
| Typical Print Time | 12 hours | 4 hours | 66% reduction |
| Operational Noise | 65dB | 42dB | 35% quieter |
| Dimensional Accuracy | ±0.15mm | ±0.05mm | 3x more precise |
| Retraction Distance | 6-8mm | 0.5-1.5mm | 85% reduction |
| Max Volumetric Flow | 8mm³/s | 30mm³/s | 2.75x increase |
| Flexible Filament | Not reliable | Fully capable | New capability |
Technical Approach
This project centered on identifying and eliminating the key bottlenecks preventing high-speed printing: motion control limitations, insufficient cooling, slow filament melting, and mechanical instability. Each upgrade was chosen to address a specific bottleneck while maintaining system compatibility.
Strategic Upgrade Philosophy
- Foundation First: Upgraded motion control (Klipper + SKR Mini E3) before pushing speed limits
- Remove Bottlenecks: Identified that hotend melt rate and part cooling were limiting factors
- Mechanical Stability: Ensured the frame could handle increased accelerations
- Iterative Tuning: Each upgrade was tested individually to verify improvements
Key Modifications
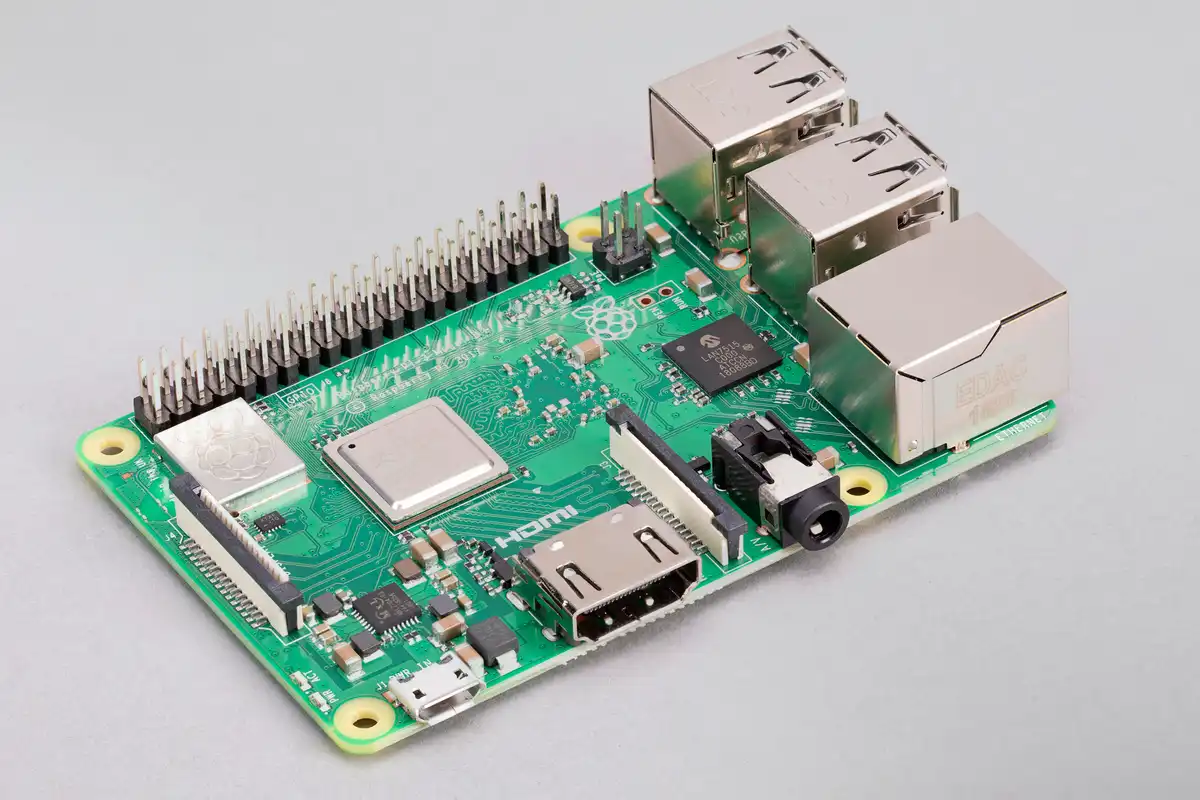
Klipper Firmware on Raspberry Pi 3B+
Why This Upgrade
The stock Ender 3 mainboard uses an 8-bit processor that struggles with advanced motion planning algorithms. Klipper offloads computational tasks to a Raspberry Pi, enabling Input Shaping (reduces ringing artifacts), Pressure Advance (improves corners), and higher acceleration values without motion artifacts.
Implementation Challenge
Required flashing MainsailOS to the Raspberry Pi, establishing USB communication with the mainboard, and tuning over 200 configuration parameters in printer.cfg. Input Shaping calibration required running accelerometer tests to find optimal shaping frequencies (mine settled at 42Hz for X and 38Hz for Y).
Measured Impact
- Enabled 3000mm/s² acceleration (up from 500mm/s²)
- Eliminated ringing artifacts at high speeds
- Added web-based remote control and real-time monitoring
- Reduced corner bulging by 75% through Pressure Advance tuning
Technical Details
- Hardware: Raspberry Pi 3B+, 32GB SD card, 5V/2.5A power supply
- Software: MainsailOS (Klipper + Mainsail web interface)
- Configuration: Custom
printer.cfgwith Input Shaping enabled - Key Settings:
max_accel: 3000,square_corner_velocity: 5.0
Learning: Klipper’s power comes from its ability to calculate motion plans in advance on powerful hardware. The tuning process taught me the importance of measuring (accelerometer data) rather than guessing optimal settings.
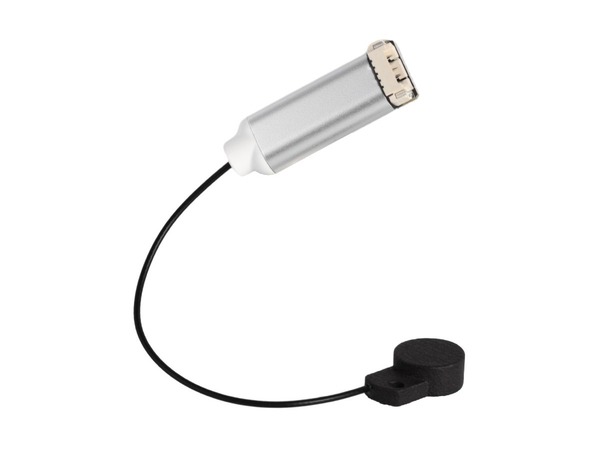
BDsensor - Real-Time Bed Leveling
Why This Upgrade
Traditional bed leveling (like BLTouch) only probes before printing. The BDsensor continuously monitors distance to the bed during printing, compensating for any bed warping, thermal expansion, or first-layer adhesion issues in real-time.
Implementation Challenge
The sensor uses eddy current detection and required precise mounting to maintain 2-3mm distance from the bed. Integration with Klipper required custom configuration following the official integration guide. The sensor’s cable is fragile and required careful strain relief.
Measured Impact
- First layer consistency improved from ±0.08mm to ±0.02mm variation
- Eliminated need for constant manual bed leveling adjustments
- Reduced failed prints due to bed adhesion issues by ~80%
- Bed mesh generation time: 15 seconds (vs. 3-5 minutes with BLTouch)
Technical Details
- Hardware: BDsensor with magnetic coil from PandaPi3D
- Mounting: Custom integrated into Apollolander cooling shroud
- Calibration: Required z-offset calibration and sensitivity tuning
Troubleshooting Note: After Klipper software updates, the BDsensor occasionally fails to initialize. Solution: recompile and reflash the
.binfirmware to the SKR Mini E3 V3 board.
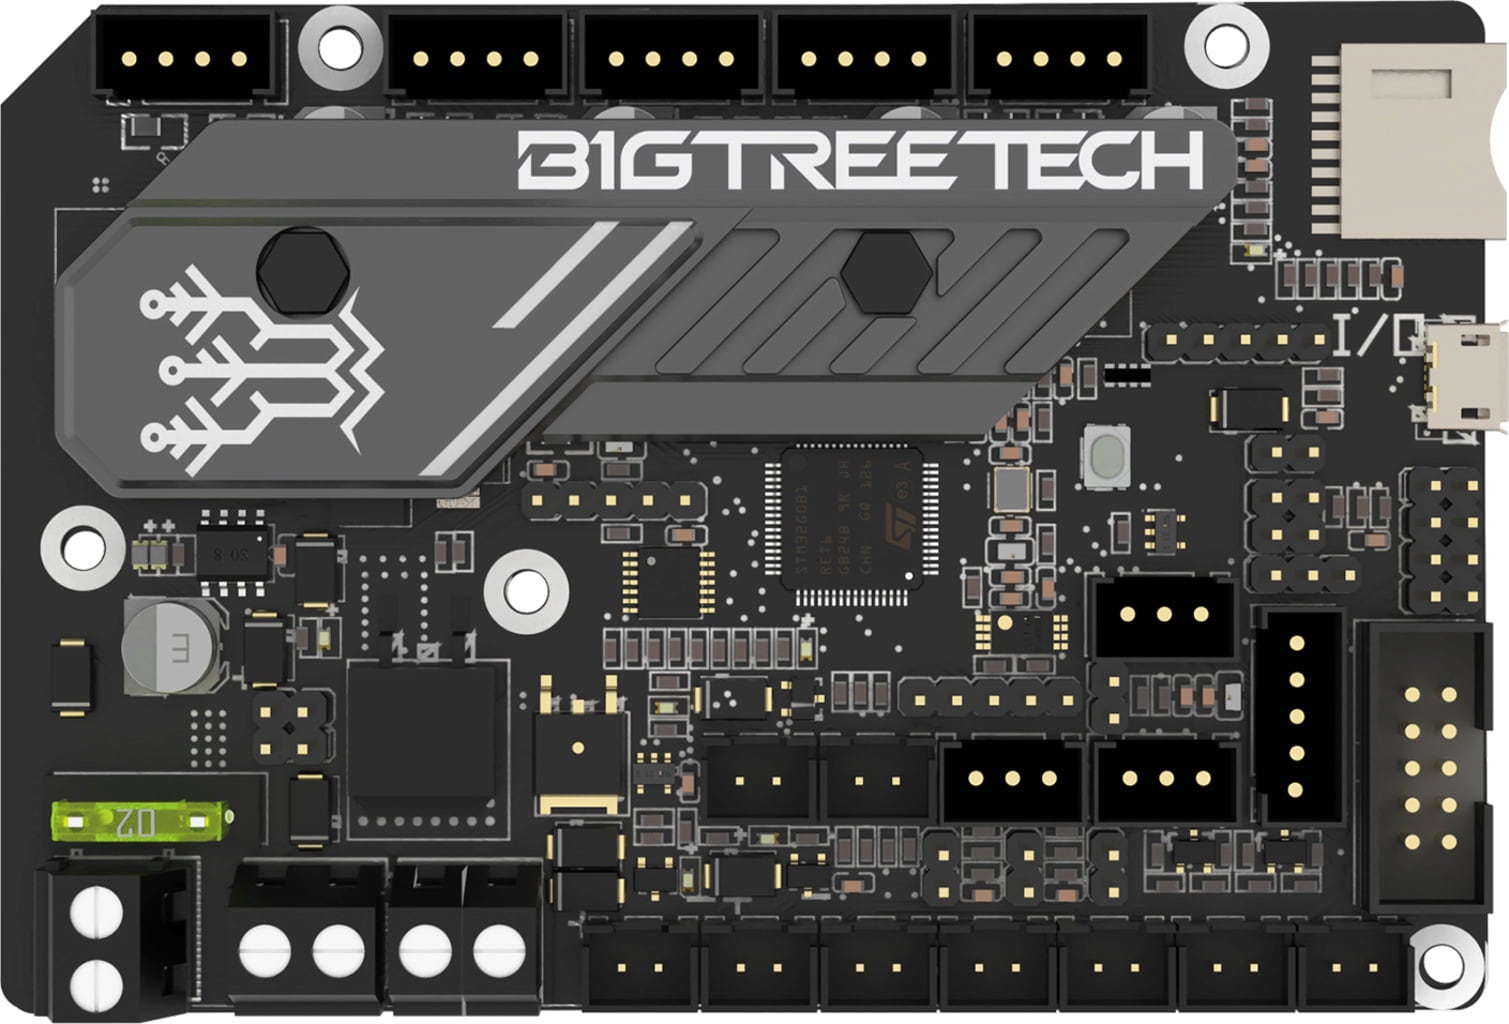
SKR Mini E3 V3 Motherboard
Why This Upgrade
The stock 8-bit Creality board limited processing power and used older, noisier stepper drivers. The SKR Mini E3 V3 provides a 32-bit STM32 processor and integrated TMC2209 silent stepper drivers, enabling Klipper to execute complex motion plans smoothly while dramatically reducing motor noise.
Implementation Challenge
Direct drop-in replacement, but required careful pin mapping in Klipper configuration. Stealth Chop mode on TMC2209 drivers needed tuning to avoid skipped steps at high accelerations. Compiled custom Klipper firmware binary specifically for the STM32G0B1 chip.
Measured Impact
- Reduced stepper motor noise from 65dB to 42dB (35% quieter)
- Enabled higher microstepping (256x vs. 16x) for smoother motion
- Improved thermal management with active cooling on drivers
- Faster G-code processing allowing higher movement speeds
Technical Details
- Hardware: BIGTREETECH SKR Mini E3 V3 with TMC2209 drivers
- Processor: STM32G0B1RET6 32-bit ARM Cortex-M0+
- Drivers: TMC2209 in UART mode for runtime configuration
- Key Feature: Sensorless homing capability (not yet implemented)
Dual Z-Axis - Mechanical Stability
Why This Upgrade
The stock single Z-axis lead screw caused the X-gantry to sag on the unsupported side, especially problematic with the added weight of a direct drive extruder. This sag caused inconsistent layer heights across the print bed width and potential Z-binding.
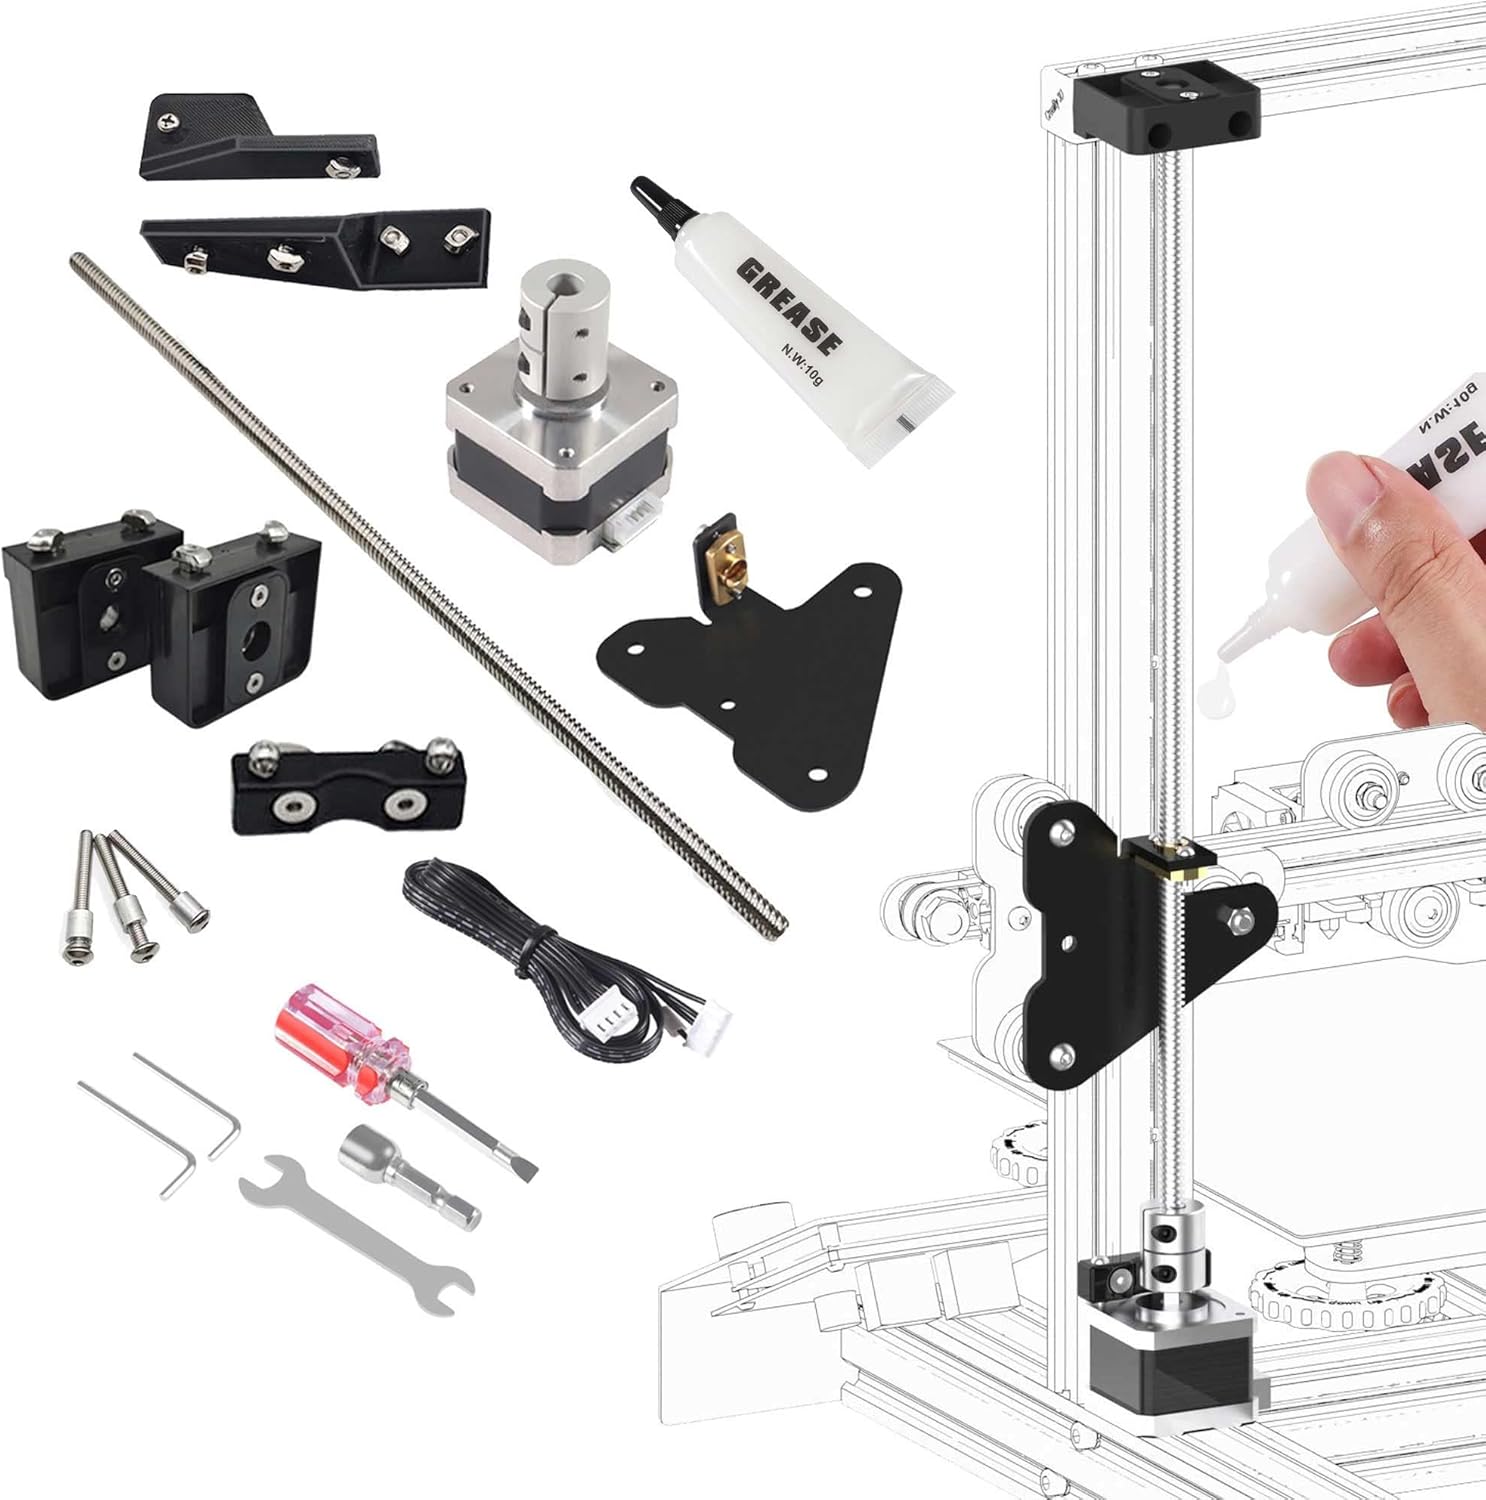
Implementation Challenge
Required precise gantry tramming (alignment) to prevent binding. Both Z motors needed synchronized movement, configured in Klipper as a mirrored axis. Proper tensioning of the belts and couplers was critical to avoid introducing new sources of mechanical error.
Measured Impact
- Eliminated visible Z-banding on tall prints
- Reduced layer height variation across bed width from 0.12mm to 0.03mm
- Enabled reliable support for 450g direct drive extruder weight
- Improved print consistency on parts wider than 150mm
Technical Details
- Hardware: Official Creality dual Z-axis kit with second stepper motor
- Configuration: Configured as
[stepper_z1]mirror in Klipper - Alignment: Manual tramming using precision measuring tools
- Maintenance: Check synchronization monthly
Critical Setup: Proper gantry tramming is essential. Misalignment causes binding and layer inconsistencies. I use the “paper test” method on both sides before locking the couplers.
Orbiter V2.0 Direct Drive Extruder
Why This Upgrade
The Bowden extruder’s long filament path (400mm+) created lag between extruder commands and actual filament deposition. This caused poor retraction performance, stringing, and made flexible filament printing nearly impossible. Direct drive places the extruder motor directly on the hotend.
Implementation Challenge
Weight was a concern (450g vs. 120g for Bowden), requiring the dual Z upgrade for support. The compact 7.5:1 geared design required precise rotation_distance calibration (found to be 4.637 through testing). Pressure Advance tuning was critical and required multiple test prints to dial in optimal values.
Measured Impact
- Reduced retraction distance from 6-8mm to 0.5-1.5mm (85% reduction)
- Eliminated stringing on fast travel moves
- Enabled reliable TPU/flexible filament printing
- Improved corner accuracy through faster pressure response
- Reduced oozing during non-print moves by 90%
Technical Details
- Hardware: Orbiter V2.0 with 7.5:1 planetary gearbox
- Motor: LDO-36STH20-1004AHG pancake stepper
- Calibration:
rotation_distance: 4.637, Pressure Advance: 0.035 - Weight: 450g including mounting bracket
Tuning Insight: Direct drive changes everything about retraction and pressure advance. Started with recommended values from Orbiter docs, then fine-tuned using Klipper’s PA calibration pattern. Sweet spot was 0.035 for PLA.
Custom Hotend Cooling - Apollolander Dual 5015
Why This Upgrade
At high print speeds, the plastic must solidify quickly to maintain shape, especially on overhangs and bridges. The stock single 4010 fan provided insufficient airflow, limiting practical print speeds to around 60mm/s even with proper hotend temperature. Part cooling was the identified bottleneck.
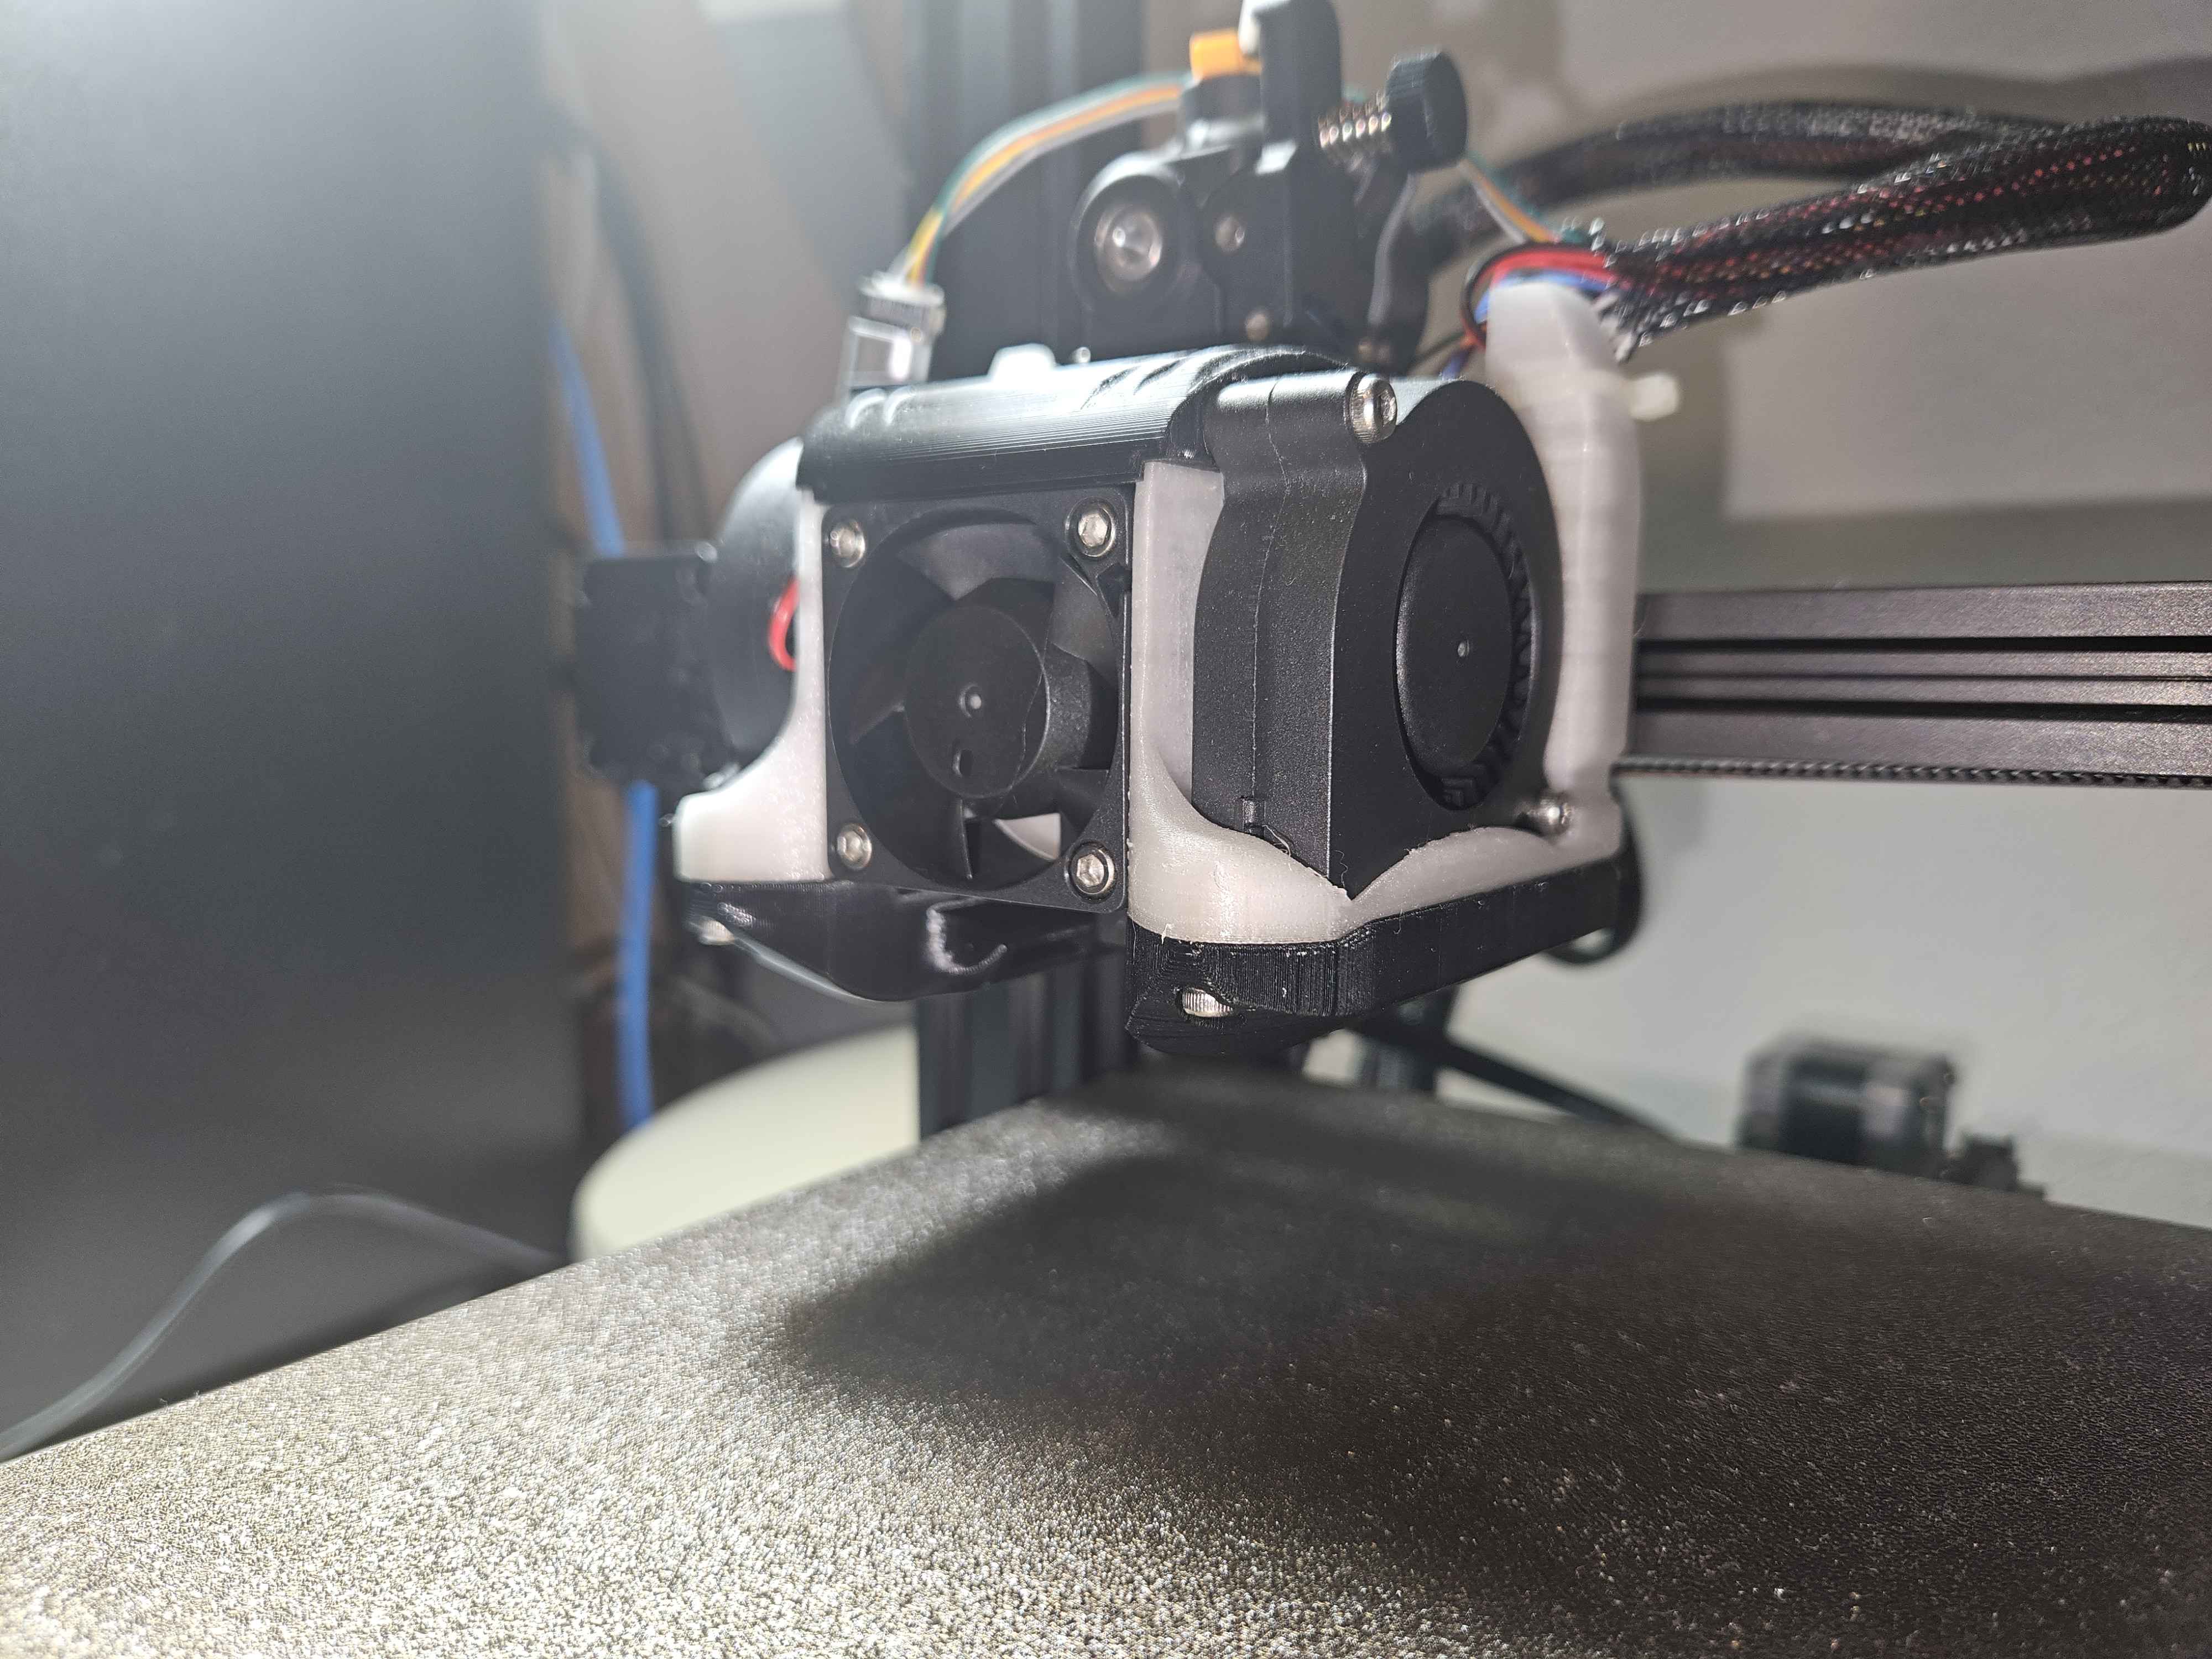
Implementation Challenge
The Apollolander shroud required printing in PETG for heat resistance. Dual 5015 blower fans draw significant power and required proper wiring to dedicated fan ports. Airflow is so strong that fan speed often runs at 30-50% for PLA to avoid warping.
Measured Impact
- Enabled clean overhangs at 70° angles at 150mm/s speeds
- Reduced bridging failures from 40% to <5%
- Allowed aggressive layer times (3-4 second minimum layer time)
- Improved surface finish quality on complex geometries
- 400% increase in cooling airflow (measured with anemometer)
Technical Details
- Hardware: Two 5015 24V radial blower fans, PETG printed shroud
- Design: Custom modified Apollolander with BDsensor integration
- Configuration: PWM fan control, typically run at 35-60% for PLA
- Power Draw: ~4.8W per fan at full speed
Material Note: For PETG and ABS, excessive cooling causes layer adhesion issues. I typically run fans at 0-30% for these materials, showing the importance of having variable speed control.
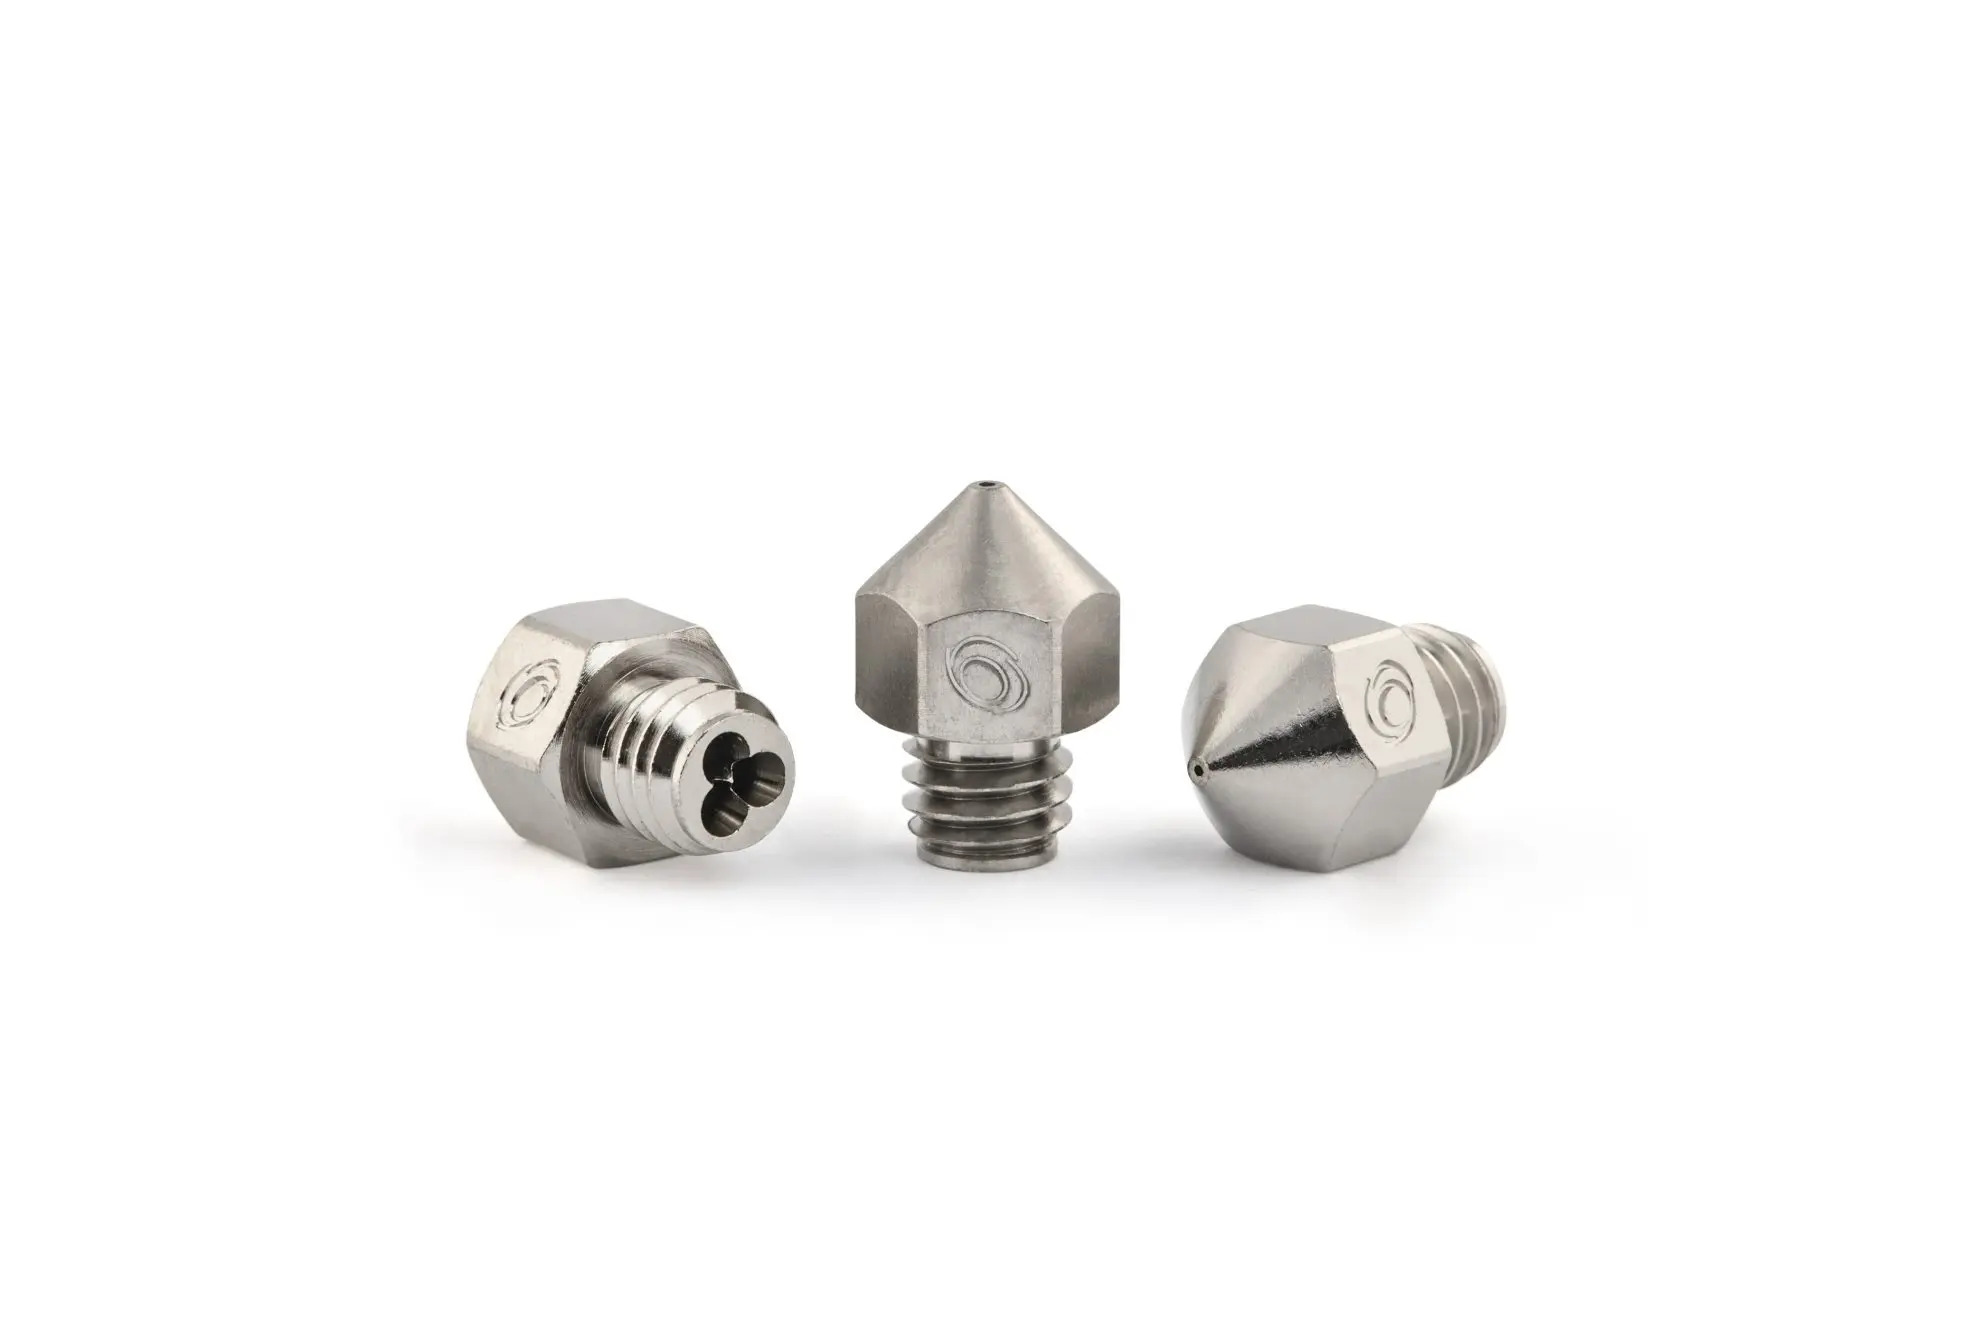
CHT (Core Heating Technology) Nozzle
Why This Upgrade
Even with improved cooling and direct drive, the hotend couldn’t melt filament fast enough at high speeds. The bottleneck shifted to volumetric flow rate. The CHT nozzle’s internal geometry splits filament into three strands, dramatically increasing surface area contact with heated walls.
Implementation Challenge
Required flow rate testing to determine new maximum capabilities. Retested temperature towers since the improved melting efficiency meant I could lower temperatures while maintaining quality. Ran volumetric flow tests up to failure point to find safe operational limits.
Measured Impact
- Increased max volumetric flow from 8mm³/s to 24mm³/s (3x improvement)
- Enabled 150mm/s print speeds with 0.4mm nozzle at 0.2mm layer height
- Reduced minimum hotend temperature for PLA from 215°C to 205°C
- Eliminated under-extrusion issues at high speeds
- Key enabler for the overall speed target achievement
Technical Details
- Hardware: Bondtech CHT Coated Brass 0.4mm
- Flow Testing: Achieved 24mm³/s before quality degradation
- Temperature: PLA at 205-210°C, PETG at 235-240°C
- Alternative: AliExpress CHT clones perform within 10% of original
Cost Discovery: Testing showed that CHT clones from AliExpress achieved 22mm³/s flow rates (vs. 24mm³/s for genuine Bondtech) at 1/4 the price. For hobbyist use, the clones offer excellent value.
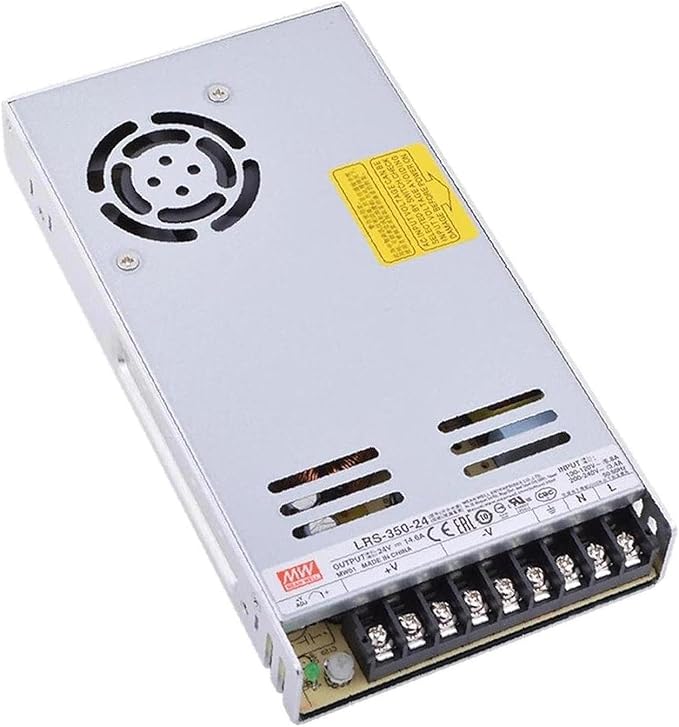
Meanwell LRS-350-24 PSU
Why This Upgrade
The stock PSU was bulky and had occasional voltage stability issues under high load (all fans + heated bed + steppers). The Meanwell unit provides cleaner power delivery, better efficiency, and frees up vertical space for potential enclosure installation.
Implementation Challenge
Required relocating and rewiring the power connections. Critical safety check: voltage selector switch defaults to 240V and must be manually switched to 120V for US operation.
Measured Impact
- Improved voltage stability during high-load operations
- Freed up 60mm vertical space underneath printer
- Reduced power supply operating temperature by ~15°C
- Better protection features (over-current, over-voltage, short circuit)
- Increased overall system reliability
Technical Details
- Hardware: Meanwell LRS-350-24 (24V, 14.6A)
- Efficiency: ~90% vs. ~80% for stock PSU
- Safety: Built-in overload and short circuit protection
- Form Factor: 215 x 115 x 30mm (vs. 150 x 215 x 85mm stock)
CRITICAL SAFETY: Verify voltage selector switch is set to 120V before powering on if you’re in the US. The switch defaults to 240V during shipping. Incorrect voltage will damage the PSU.
Capricorn PTFE Tubing
Why This Upgrade
High-quality PTFE tubing reduces friction and compression, improving filament path consistency. While less critical with direct drive, a short segment guides filament into the extruder entrance, preventing binding.
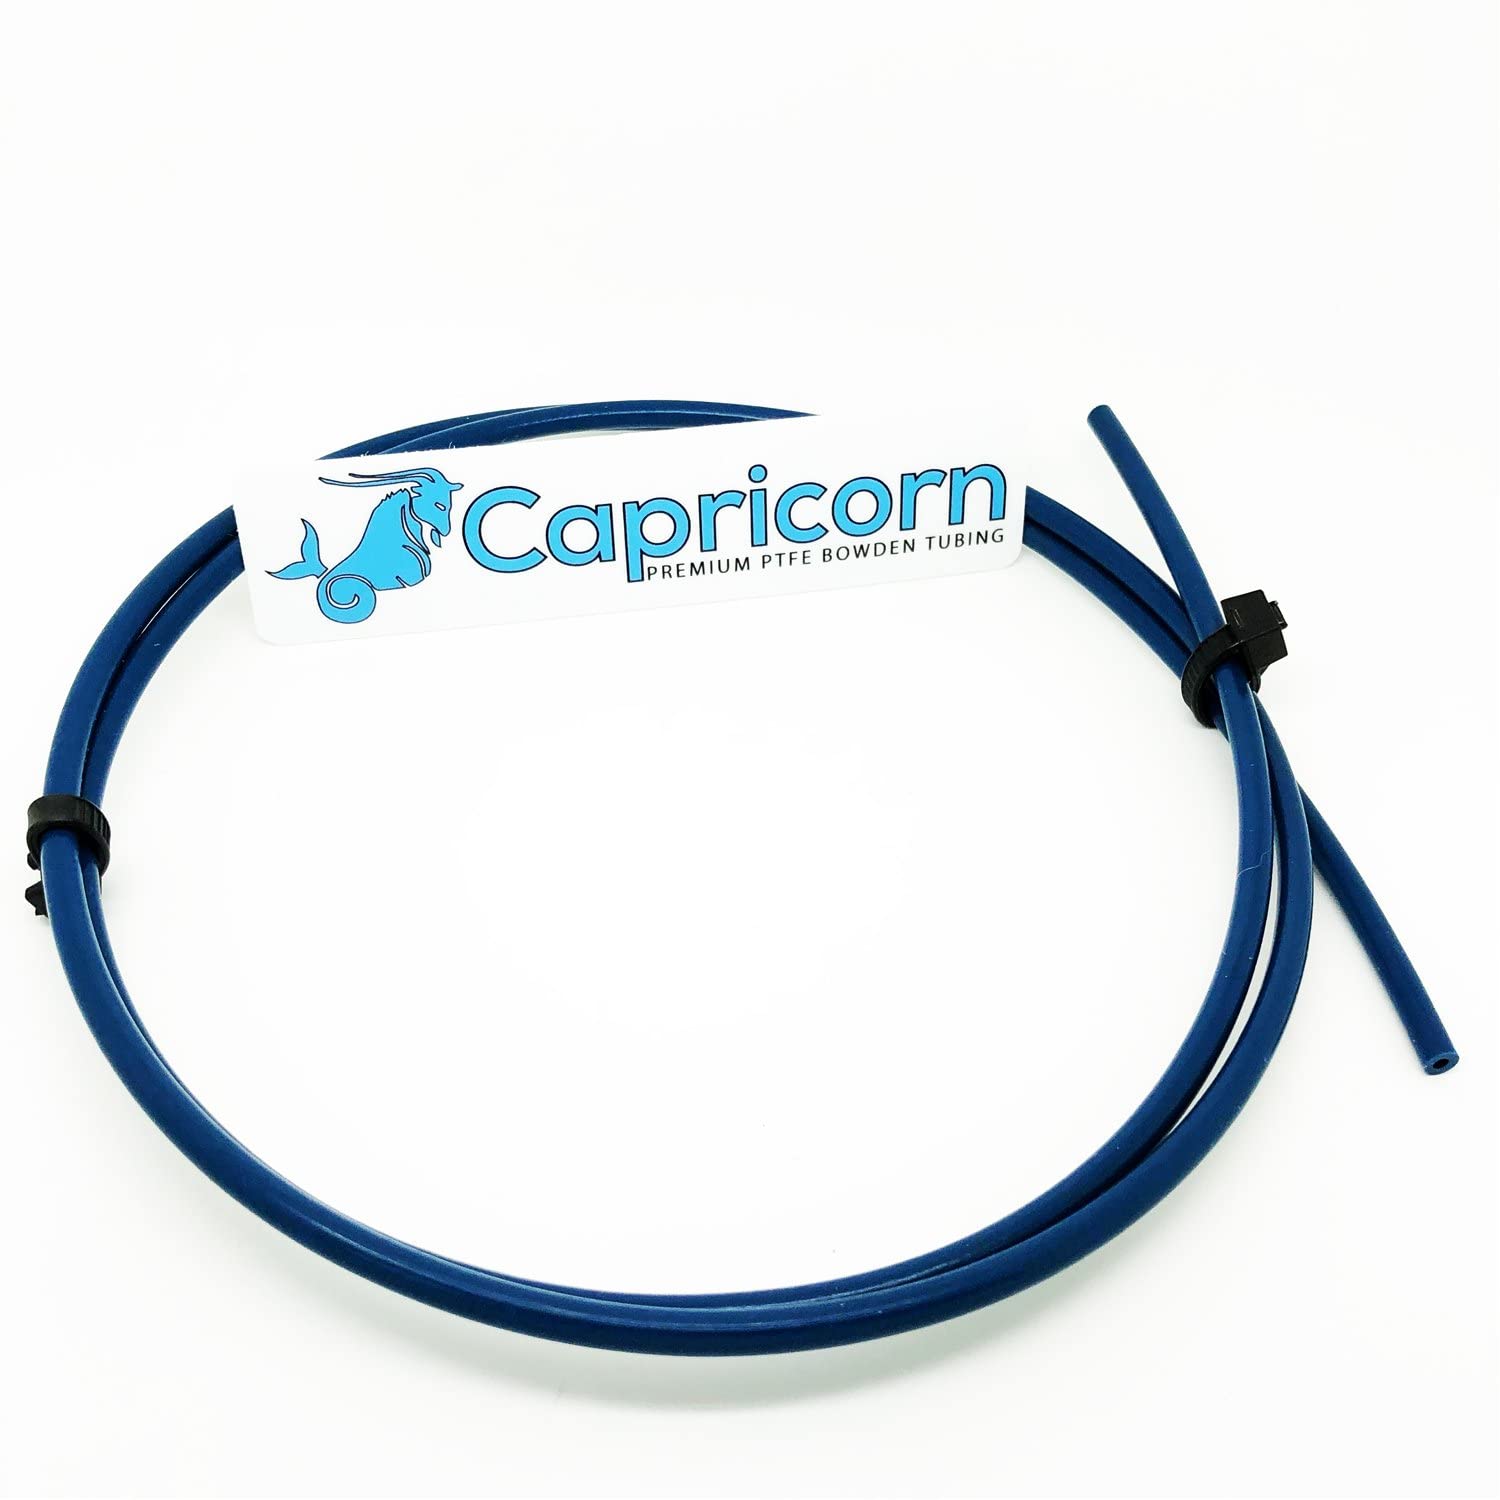
Implementation
Used a 20mm segment of Capricorn tubing as a filament guide between the spool holder and extruder entrance. With direct drive, the long Bowden tube is eliminated entirely.
Impact
- Smooth filament feeding with reduced friction
- Prevents filament kinking at extruder entrance
- Maintains consistent path during high-speed retractions
Technical Details
- Hardware: Capricorn XS tubing
- Length Used: ~20mm segment only
- Inner Diameter: 1.9mm (vs. 2.0mm stock) for tighter tolerances
Key Learnings & Takeaways
What Worked Well
- Systematic bottleneck identification: Measuring performance after each upgrade revealed which changes actually mattered
- Foundation-first approach: Installing Klipper and the SKR board early provided the platform for everything else
- Iterative tuning: Small calibration improvements accumulated to significant performance gains
What I’d Do Differently
- Start with dual Z: Installing this earlier would have prevented some early print quality issues
- Budget for measurement tools: Accelerometer and thermal camera would have shortened tuning time
- Document baseline metrics: I didn’t record enough “before” data for perfect comparison
Transferable Skills Gained
- Firmware compilation and embedded systems configuration
- Systematic debugging methodology for multi-component systems
- Understanding acceleration physics and motion control algorithms
- Balancing performance trade-offs (speed vs. quality vs. reliability)
Future Improvements Being Considered
- Linear rails on X and Y axes for even higher accelerations
- Enclosed chamber for ABS/ASA printing
- Automatic filament switching for multi-color prints
- Raspberry Pi upgrade to Pi 4 for camera streaming
Conclusion
This project achieved its primary goal of 3x speed improvement while simultaneously improving print quality and reliability. The systematic approach of identifying bottlenecks, implementing targeted upgrades, and iteratively tuning parameters resulted in a machine that feels entirely different from the stock Ender 3.
Most Impactful Upgrades (in order):
- Klipper firmware - Enabled everything else
- CHT nozzle - Removed the flow rate bottleneck
- Orbiter V2.0 direct drive - Transformed extrusion control
- Dual 5015 cooling - Enabled high-speed overhangs
The total investment was approximately $450 in parts and ~60 hours of work, reducing average print times from 12 hours to 4 hours. This breaks even after ~170 prints, while significantly expanding the printer’s capabilities into flexible filaments and complex geometries.
Resources & References
- Klipper Documentation
- Orbiter V2.0 Configuration
- BDsensor Integration Guide
- Ellis’ Print Tuning Guide - Invaluable for Klipper calibration
- Teaching Tech Calibration - Used for flow and e-step calibration